| “ | We won't pay! - Chant of the protestors |
” |
Operation Silver Star[1] is the first major operation of the Oil Crisis. Task Force Talon is assigned to watch over a meeting of financial executives in London. It goes badly as terrorists assault Buckingham Palace and other sections of the city.
A Peaceful Demonstration[]
Jefferson and his team arrive in CIA armored vans, they dismount and head for Buckingham Palace as the protesting crowd is far too large to carry on, they head to the first checkpoint, where a British police officer identifies them and lets them through the barricade. Jefferson wonders about retaliation by Kazim’s affiliates, although Richter dismissed them as “irrelevant”.
They continue to the second and third checkpoints, observing the massive crowd that has gathered to protest against the meeting, Jefferson comments on why the Task Force is playing “rent-a-cop”, Richter responds by stating that it was by order of the National Security Advisor.
Eventually, the team reaches and takes up position in front of the gates of Buckingham Palace to await the arrival of the executives.
A Shot in the Fog[]
Richter orders the team to check that their gun safeties are on to ensure that the event passes as smoothly as possible.
As the limos begin arriving Richter points out each executive as they arrive.

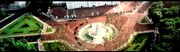
Aerial view of the arriving motorcade at Buckingham Palace
Meanwhile, a number of people in the crowd begin readying their concealed weapons for a fight. One walks up right behind a policeman manning the barricade and shoots him, except for the immediate area, most of the crowd drowns out the noise of the gunshot and the event continues.
Jefferson believes he has heard a shot, although Richter dismisses it and tells him to stay with the attendees.
At this point, the gunmen begin their assault, firing their weapons randomly into the crowd and killing dozens of protesters, the attendee’s bodyguards begin securing and evacuating their charges while Richter denies a request to move out by Jefferson and orders him to help secure the executives. One of the terrorists brings out a sniper rifle and shoots a guard right in front of the team.
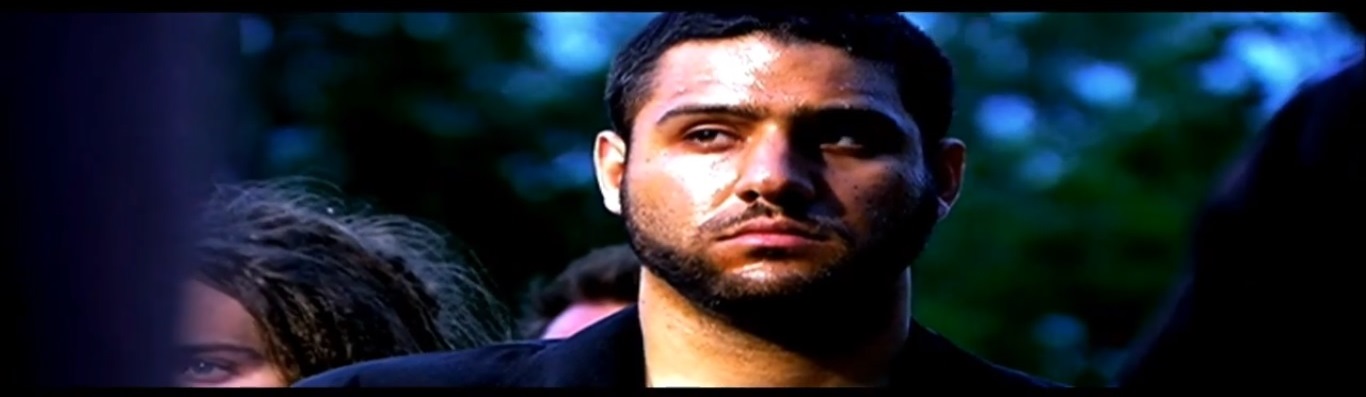
One of the gunmen getting ready
Jefferson alerts Richter and once again requests to move out, Richter denies again as the sniper continues firing. At this point, National Security Advisor Chamberlain intervenes and demands that he move out and eliminate the threat.
Richter finally authorizes Jefferson to take out the attacking gunmen. With police assistance, TFT proceeds to clear the plaza of all hostiles, but suffer minor casualties.
An ambulance arrives to assist TFT, after which they attempt to locate the executives. Vega locates Kingman's vehicle and the team move to it. They are ambushed by more gunmen with a vehicle which they quickly eliminate. However, they only find Kingman's dead bodyguards.
Traffic Jam/Walk in the Park[]
The team is then extracted by their armored vans with reinforcements; the British police declare a curfew and clear the streets.
As the team move up a street, they are again ambushed by terrorists, with the vans providing protection, the ambush is destroyed with minimal effort, although Richter than calls for them to return to the US embassy as it’s coming under attack, the team pile back into their vans and rush off.
They arrive just after a suicide truck blew up a corner of the building, together with the Marines guarding the embassy and with the protection of the vans; the combined force repulses the attack waves with minimal effort.
Vega then detects heavy movement in the park ahead, Richter decides to strike first, and the team uses the vans to crash straight into the terrorists gathering point, decimating them despite the few RPGs fired at them.
After recuperating with another ambulance at the embassy, Vega finds three possible locations with Kingman via Kingman's special watch. Using the vans once again to move up close, the team assaults the first location but does not find Kingman. They then drive and assault the second location further away, despite being more heavily guarded the team suffers only light casualties, although they still have not found Kingman.
Richter then alerts them that more reinforcements are inbound, the SAS airlift Jefferson and two of his men along with a sniper team to the last location.
"We're going in!"[]
At the final location, the police cordon the area off as the protestors have returned, the snipers use the building across the street to take out the terrorists in and around the final location while Jefferson and the two commandos eliminate any opposition. They launch an assault on the building once they have cleared all hostiles.
Aftermath[]
The trio of commandos enter the building, stunning any enemies with flashbangs. They enter a room Yegor Zakharov, one of the executives, is struggling with a captor but manages to kill him. Yegor identifies himself soon after. Kingman is also found although heavily drugged.
After Kingman and Yegor was discharged for injuries and any questions involving the attackers, the latter receives a complaint call from the Consortium, who intended the mission to be a subtle abduction of Kingman. Zakharov cuts his personal ties with the Consortium and begins organizing his own plans to strike back at Task Force Talon and TransGlobal.
See also[]
References[]
- ↑ Eugen Systems, Act of War: Direct Action. Mission 2: "London"
| ||||||||